
Avoid These Mistakes with Your Baby's Snot Sucker

Few things are more distressing for new parents than watching their baby struggle to breathe through a stuffy nose. Infants can't blow their noses on their own, which means every bout of congestion—whether from a cold, allergies, or dry air—requires hands-on intervention. That's where the nasal aspirator, commonly known as a snot sucker for baby, comes in. This simple device has become a staple in nurseries worldwide, offering parents a way to clear their baby's nasal passages and restore comfortable breathing.
However, as straightforward as these tools may seem, using them incorrectly can cause more harm than good. From applying too much suction force to skipping proper cleaning routines, well-meaning parents often make mistakes that lead to nasal irritation, recurring infections, or simply ineffective congestion relief. This article walks you through the most common errors parents make with baby nasal aspirators, how to choose the right device, and the proper technique for safe, gentle use. Whether you're a first-time parent or looking to refine your approach, these guidelines will help keep your little one breathing easy.
Read more:
The Most Common Mistakes with Baby Nasal Aspirators
Even the most well-intentioned parents can unknowingly turn a simple suctioning session into an uncomfortable or even harmful experience for their baby. Understanding the most frequent errors is the first step toward providing effective baby congestion relief without causing additional problems. The three biggest mistakes parents make involve using too much force, neglecting proper hygiene, and choosing an aspirator that doesn't match their baby's needs. Each of these errors can transform what should be a quick, gentle process into something that irritates delicate nasal tissue, introduces bacteria, or simply fails to clear the congestion at all.
Mistake 1: Applying Excessive Force During Suction
A baby's nasal passages are incredibly delicate—lined with thin mucous membranes and tiny blood vessels that are easily damaged. When parents squeeze a bulb syringe too aggressively or hold an electric aspirator in place too long, they risk causing swelling, nosebleeds, or micro-tears in the nasal lining. This irritation can actually make congestion worse, as inflamed tissue produces more mucus in response to the trauma. The instinct to "get everything out" in one powerful pull is understandable, especially when your baby is clearly uncomfortable, but gentle, brief suction repeated a few times is far safer and more effective than one forceful attempt. Think of it as coaxing the mucus out rather than yanking it. If you notice any blood-tinged mucus after suctioning, that's a clear sign you're applying too much pressure and need to ease up significantly on your next attempt.
Mistake 2: Improper Cleaning and Maintenance
Nasal mucus is a breeding ground for bacteria and viruses, which means an aspirator that isn't thoroughly cleaned after every single use becomes a reservoir for germs. Many parents rinse the tip under running water and consider it done, but warm water alone won't eliminate the pathogens trapped inside the device. Bulb syringes are particularly problematic because their enclosed design makes it nearly impossible to see or reach internal mold growth. To maintain proper hygiene, disassemble your aspirator completely after each use, wash all components with warm soapy water, rinse thoroughly, and allow every piece to air dry completely before reassembling. For deeper sanitation, sterilize parts weekly using boiling water or a steam sterilizer, depending on the manufacturer's recommendations. Skipping these steps doesn't just risk reinfecting your baby—it can introduce new bacteria into already irritated nasal passages, potentially leading to secondary infections that are far worse than the original congestion.
Mistake 3: Using the Wrong Type of Aspirator
Not all infant nasal aspirators work the same way, and what's appropriate for a three-month-old with mild stuffiness may be entirely wrong for a newborn with thick mucus from a cold. Bulb syringes, the type most hospitals send home with new parents, offer limited suction control and are difficult to clean internally, yet many families use them exclusively because they don't realize alternatives exist. On the other end of the spectrum, some parents purchase powerful electric aspirators designed for older infants and use them on newborns whose nasal passages are too small and fragile for that level of suction. Mouth-operated aspirators with filters offer parents more control over suction strength, making them a good middle-ground option for young infants. The key is matching the device to your baby's age, the thickness of the mucus, and the severity of congestion. A mild stuffy nose from dry air requires a very different approach than thick, green mucus from a respiratory infection, and using the wrong tool for the situation often means either inadequate relief or unnecessary irritation.
How to Choose the Right Nasal Aspirator for Your Baby
Selecting the right nasal aspirator isn't just about grabbing whatever's on the pharmacy shelf—it's about finding a device that matches your baby's developmental stage, your comfort level as a caregiver, and the types of congestion you're most likely to encounter. The wrong choice can mean frustrating sessions where you can't clear anything, or worse, a device that's too powerful for your infant's delicate nose. Taking time to evaluate a few key factors before purchasing will save you from cycling through multiple products and help you provide consistent, effective baby congestion relief from the start.
Key Features to Look For in Infant Nasal Aspirators
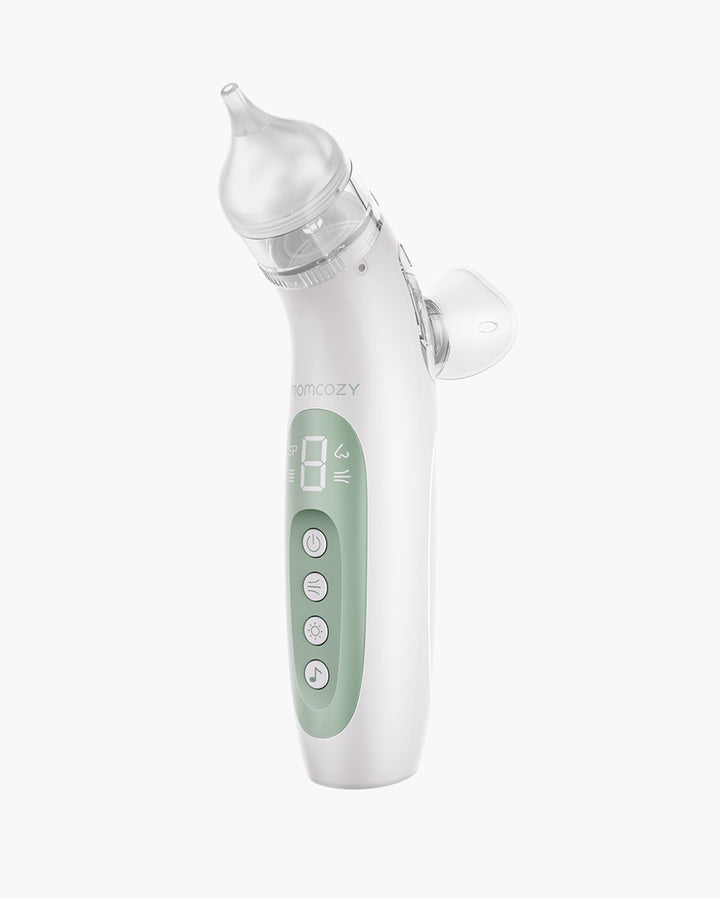
The tip material matters more than most parents realize—look for aspirators with soft, flexible silicone tips that won't scratch or irritate the nasal lining, even if your baby moves unexpectedly during use. Adjustable suction levels are another critical feature, particularly for electric models, because they allow you to start gently and increase only if needed based on mucus thickness. Easy disassembly is non-negotiable; if you can't take the device apart completely, you can't clean it properly, and hidden moisture will eventually harbor mold. Transparent collection chambers let you see exactly how much mucus you're removing, which helps you gauge whether you need another pass or if you're done. Finally, consider whether parts are dishwasher-safe or compatible with standard steam sterilizers, as this dramatically reduces the daily cleaning burden and ensures more consistent hygiene between uses.
Comparing Different Types of Snot Suckers
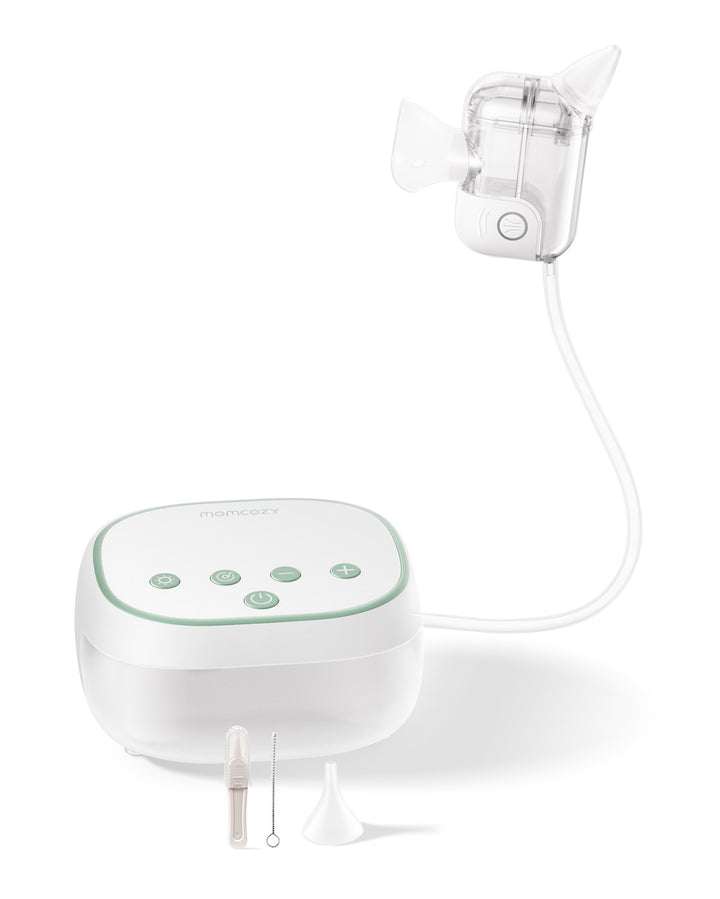
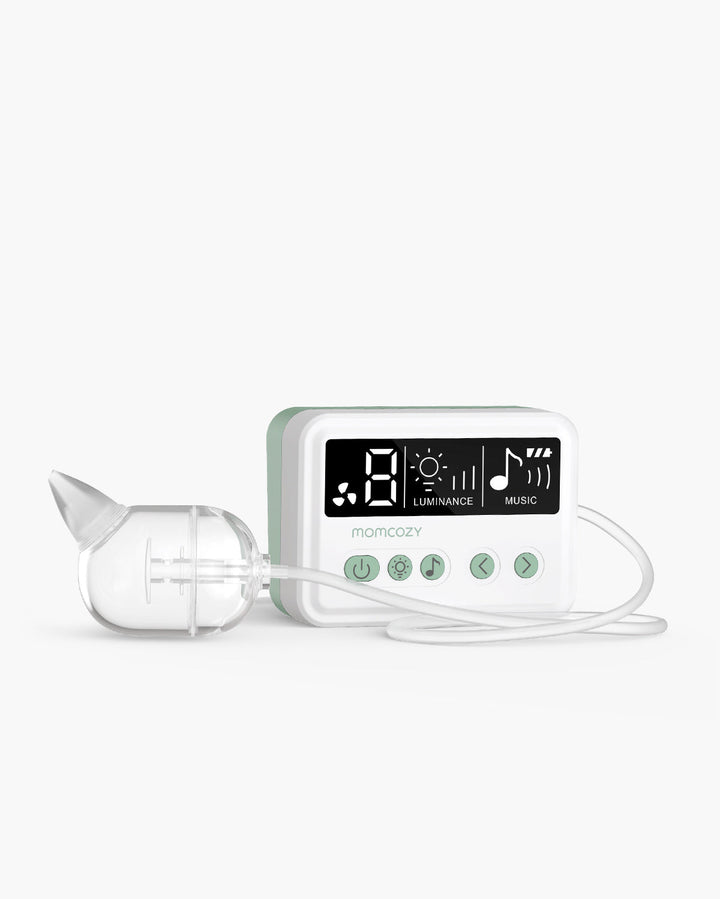
Bulb syringes are the most basic option—inexpensive and widely available, but they offer minimal suction control and their opaque, enclosed design makes thorough cleaning nearly impossible over time. They work adequately for very thin, watery mucus but struggle with thicker congestion. Mouth-operated aspirators with disposable filters give parents precise control because you regulate suction strength with your own breath, and the filter prevents any mucus from reaching your mouth. These tend to be the most versatile option for infants under six months. Electric aspirators, like those offered by brands such as Momcozy, provide consistent, hands-free suction at the press of a button, which is helpful when you're managing a squirming older baby alone, but they can be overpowered for newborns unless they feature multiple suction settings. Parents who deal with frequent congestion episodes—such as those with babies in daycare—often prefer electric models for convenience, while families dealing with occasional stuffiness may find a mouth-operated aspirator perfectly sufficient. Your best choice ultimately depends on how often you'll use it, your baby's age, and whether convenience or precision matters more in your daily routine.
A Step-by-Step Guide on How to Use a Nasal Aspirator Safely
Knowing which mistakes to avoid and which device to buy only gets you halfway there—you also need proper technique to provide effective baby congestion relief without distressing your infant. The actual suctioning process involves three distinct phases: preparation, suction, and aftercare. Rushing through any of these steps or skipping them entirely is what separates a smooth, quick session from one that leaves both parent and baby frustrated. When done correctly, the entire process should take less than a minute per nostril and shouldn't cause your baby significant discomfort beyond mild annoyance at being held still.
Preparation: Softening Mucus for Easier Suction
Trying to suction thick, dried mucus directly is both ineffective and uncomfortable for your baby. Before reaching for the aspirator, spend two to three minutes loosening the congestion so it comes out easily with minimal suction force. Apply two to three drops of sterile saline solution into each nostril while your baby is lying on their back with their head slightly tilted. The saline thins the mucus and triggers a natural loosening response. If you don't have saline drops on hand, running a warm-mist humidifier in the room for fifteen to twenty minutes beforehand achieves a similar effect by adding moisture to dried nasal passages. You can also try holding your baby in a steamy bathroom for a few minutes after running a hot shower. Wait at least thirty seconds after applying saline before suctioning—this gives the solution time to penetrate and break up the congestion, making the actual aspiration far gentler and more productive.
The Correct Technique for Effective Suction
Position your baby on their back on a flat surface, or hold them upright against your chest if they're too fussy to lie down. Gently insert the aspirator tip just inside the nostril opening—never push it deep into the nasal passage, as this risks damaging internal tissue. For bulb syringes, squeeze the bulb before insertion to create a vacuum, then release slowly once the tip is positioned. For mouth-operated models, apply short, gentle pulls rather than one sustained breath. Angle the tip slightly toward the back and side of the nostril rather than straight up, as this follows the natural path of mucus drainage. Suction each nostril for no more than three to five seconds at a time, and limit yourself to two or three attempts per nostril in a single session. If mucus isn't coming out, don't increase force—instead, apply more saline and wait before trying again. Always suction one nostril at a time while leaving the other open, and watch your baby's reaction throughout to ensure you're not causing pain.
Aftercare: Cleaning and Storing Your Aspirator
Immediately after use, disassemble the aspirator into all its separate components. Flush each piece under warm running water to remove visible mucus, then wash thoroughly with mild dish soap, using a small brush to reach interior surfaces of tubes or collection chambers. Rinse all soap residue completely, as leftover detergent can irritate your baby's nose during the next use. Shake off excess water and lay every component on a clean towel to air dry fully—this step is critical because reassembling a damp aspirator creates the dark, moist environment where mold thrives. Store the dry, reassembled device in a clean, dry location away from bathroom humidity. Replace disposable filters after every use if your model requires them, and inspect silicone tips weekly for cracks or discoloration that indicate it's time for a replacement.
Additional Tips for Managing Baby Congestion
A nasal aspirator is just one tool in your baby congestion relief toolkit. Running a cool-mist humidifier in your baby's room adds moisture to the air and helps prevent mucus from drying out and hardening overnight. Frequent breastfeeding or bottle-feeding keeps your infant hydrated, which naturally thins nasal secretions. Elevating the head of the crib mattress slightly with a rolled towel underneath can encourage drainage while your baby sleeps. However, know when to stop managing congestion at home and call your pediatrician—if your baby is under three months with any congestion, has a fever above 100.4°F, refuses to eat, shows signs of labored breathing like rib retractions or nostril flaring, or if symptoms persist beyond ten days, professional evaluation is essential.
Safe Suctioning Starts with the Right Technique and Tools
Using a nasal aspirator seems simple enough, but the mistakes parents commonly make—applying too much suction force, neglecting thorough cleaning, and choosing the wrong device for their baby's age and congestion type—can turn a helpful tool into a source of irritation or infection. The good news is that all of these errors are entirely preventable once you know what to watch for. Gentle, brief suction after properly loosening mucus with saline will always outperform aggressive force. Complete disassembly and thorough drying after every use eliminates the bacterial and mold growth that leads to reinfection. And selecting an aspirator that matches your infant's developmental stage ensures you're providing effective baby congestion relief without overwhelming their tiny, delicate nasal passages.
Put these guidelines into practice starting with your next suctioning session. Take the extra minute to apply saline drops, use a light touch, and clean every component afterward. Your baby can't tell you what feels right, but their calm breathing and restful sleep will confirm that you've got the technique down. When in doubt, always err on the side of gentleness—and don't hesitate to reach out to your pediatrician if congestion persists or worsens despite your best efforts at home.
Similar Articles

Make parenting easier with portable change mats—compact, waterproof, easy to clean, and comfy for babies. A must-have for stress-free outings with little ones.

For both parents, there is nothing more exciting than welcoming your newborn to the family home and in this short article, we offer useful information on setting up a nursery at home to welcome Junior into the family.

There are many causes of baby torticollis but the important thing is to know how to deal with it so that it does not become a threat. Some babies can have torticollis due to hereditary problems, due to a bad position in the womb before birth

The moment of the baby's birth is exceptional for every parent. The presence of the baby can even be a source of immeasurable happiness for parents. So visiting babies and giving gifts to babies can be a symbol of joy in the arrival of the little angel.

Before entering the guide to prepare that beautiful session that you are going to do at home, I would like you to first read these three tips that will help you establish your expectations about these photos.

It is not uncommon for your baby to cry and whine: a sore bottom. Nappy rash is the name given to the red, painful, and often itchy spots on babies' delicate skin in the nappy area. Most babies sooner or later have a nappy rash. In many cases, there is also a fungal attack, because the nappy contains a perfect environment for the fungi to multiply.

Babies are vulnerable to harmful chemicals, and their skin is super sensitive to foreign ailments. Therefore, it is advisable to use natural baby products for skin and hair care routine.

Having a baby is no doubt a joyous time. After all, you are welcoming a new life that is part of your own flesh and blood. However, it can also be a trying time as you need to take various factors into account.

Russian male names in the usual sense are familiar names that come to us from the centuries, which were not affected by foreign influence and neoplasms. However, in this article, we provide only male Russian names of the pre-Christian period. Before the rebirth of Russia, people were given nicknames.