

How To Add Decorative Trim to Curtains and Install a Curtain Rod
HOW-TO ADD DECORATIVE TRIM TO CURTAINS
If you can be a little bit creative, then you could change the whole room look by modifying the little curtains bit. Just admit it, the curtains have the capability to change the looks of the room. A Little change makes a big difference when it comes to decoration. By adding the decorative trim, you could claim that you have a new curtain. I did this project to my daughter's room.
I had a curtain 86 inches long panel. I bought them about 2 years ago. They look nice but boring. Then adding trim opens a new decoration window. Simple but change the look of the look of the curtain as well as the room. The trims are inexpensive and easy to get from the market.
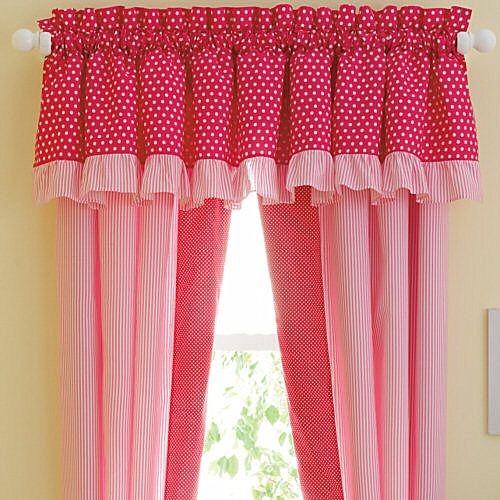
Before start; the panels needs to be raised a little higher toward the ceiling. Then add a decorative trim band at the top, bottom and inner side. The fabrics are $3.97 per yard and one yard just enough for my project. For my project, I wanted to 3 inches leading edge band trim on the three sides. I cut the 6-1/2 inches strips of the fabrics.
The fabrics were not enough for a long panel. So I lined them together and sewed them then ironed them, and I got a long stripe.
After the long strip, I cut the strips in half and make them two strips. Then I folded the strips in half then iron them neatly. Then I aligned the unfinished edge of the trim fabrics with the right side of the panel edge. Then I sewed them using the 1/2 inches inseam. After sewing iron them again.
Now adding the leading edge band to the inner side and the bottom, and to the top, now it is time to think about the corners.
To the corner, I rolled one side under for creating the 90-degree angle. Then sewed the edge of the angle.
I also updated the drapery rod too. The process is very simple. Take the rod, Polish it with the rough carbon paper for clearing the previous color. Then choose your color and paint them. Leave it for dry, then use it.
How to Install a Curtain Rod
If you want to install the curtain rod easily, then there are some easy and simple steps for you. Remember for the maximum amount of light; the end brackets should install on each side of the window opening. The exact placement will depend on the width of the curtains. For the large windows extra supports needed. For the small project only ends support needed. Before installation, you should consider the curtains weight. You can use this process on the ceiling mount curtain rods.
Easy Installation Steps:
STEP 1: (Measure the height of the curtain Rod)
First, need to measure above the window recess for the required height. Mark the length with the pencil.
Step 2: (Check Level for Accuracy)
By using the height mark, draw a suitable level line above the recess.
STEP 3: (Level and Mark Wall for Curtain Rod)
Use the level and mark the horizontal line directly above the corner of the recess.
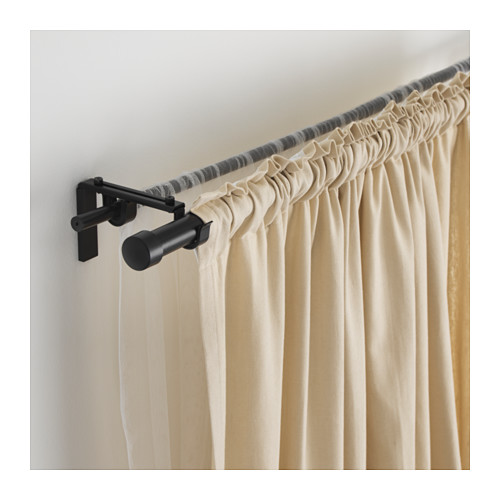
STEP 4: (Measure Where Rod Will Hang)
Measure back to mark the position of the brackets. Depending on the curtains should measure this width.
STEP 5: (Position Brackets for Curtain Rod)
Using the pencil marks the position for the end support. Mark the support screw holes then remove the support.
STEP 6: (Secure the Brackets)
Plug the attachment holes if necessary; then screw into the right place. For the other support do the same process.
STEP 7: (Attach Rings and End Support)
Place the rod on the support. Then position the rings on the rod.
STEP 8: (Place Outer Ring)
Place the outer ring on the outer side of the support. For this, you need to extend rod from the both end of the support.
STEP 9: (Position Finials on the Rod)
The end rods caps are just pushed to fit. Some used the screw to fits into.
STEP 10: (Secure the Curtain Rod)
By using the screws attached the rod to the brackets.
By following these simple steps, you could install the curtain rod easily and smoothly.
Similar Articles
In the residential decoration market, bathrooms are transitioning from simple functional spaces to living spaces that combine comfort, aesthetics, and practicality.

A sleeper sofa often has to satisfy two audiences. The household wants comfortable seating every day, while an overnight guest needs a stable place to rest without feeling like a temporary inconvenience.

Modern office design influences productivity, employee wellbeing, recruitment, and business performance. Learn why companies are treating workplace design as a strategic investment rather than a finishing touch.
Discover 7 creative ideas to transform your bathroom into a farmhouse-style retreat with rustic charm, warmth, and timeless appeal.

Indoor plants have long earned their place in interior design—valued for the texture, color, and quiet calm they bring to a living space.
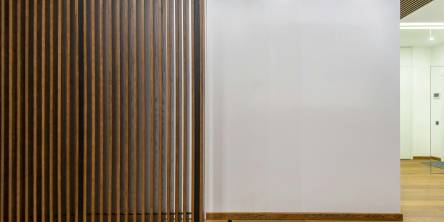
When it comes to enhancing the appearance of your interior walls, selecting the right material is crucial. Two popular choices are wood and MDF slat panels, each offering distinct features and benefits that make them suitable for various applications.
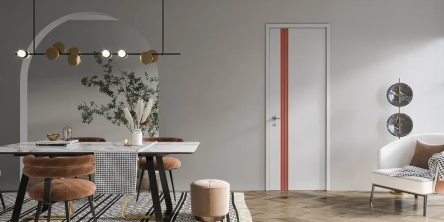
Interior door selection plays a crucial role in shaping the atmosphere and functionality of any living space. Today, interior doors are not just practical elements used to separate rooms

If you’ve spent any time looking at the high-end apartments popping up across Golf Course Road or near the Dwarka Expressway, you’ve likely noticed a massive shift in what "wealth" looks like.

Small office spaces are increasingly common, especially in busy cities where space is limited and rental costs are high. While compact offices can present challenges, they also offer an opportunity to create efficient, organised, and highly functional work environments.